The release of MJX Hyper Go 10210 has completely shaken up the already heated 1/10 scale beginner monster truck market. A lot of guys new to the hobby are on the fence right now, asking: What’s the actual difference between this and the older 10208? Is it worth dropping the extra cash on the new rig? Today, we’re gonna break down the differences across the three things beginners care about most: durability, power, and handling.
Part 1: The 3 Core Upgrades Over the 10208
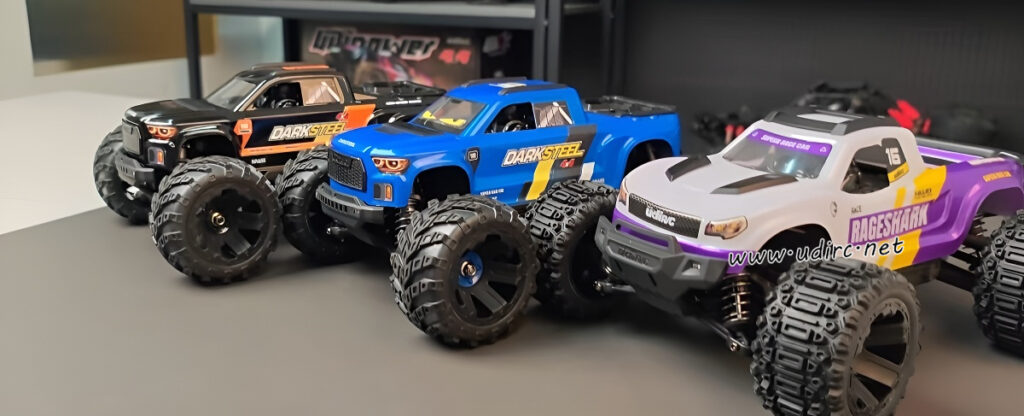
1. Wider Stance: Better Looks & Way More Stable
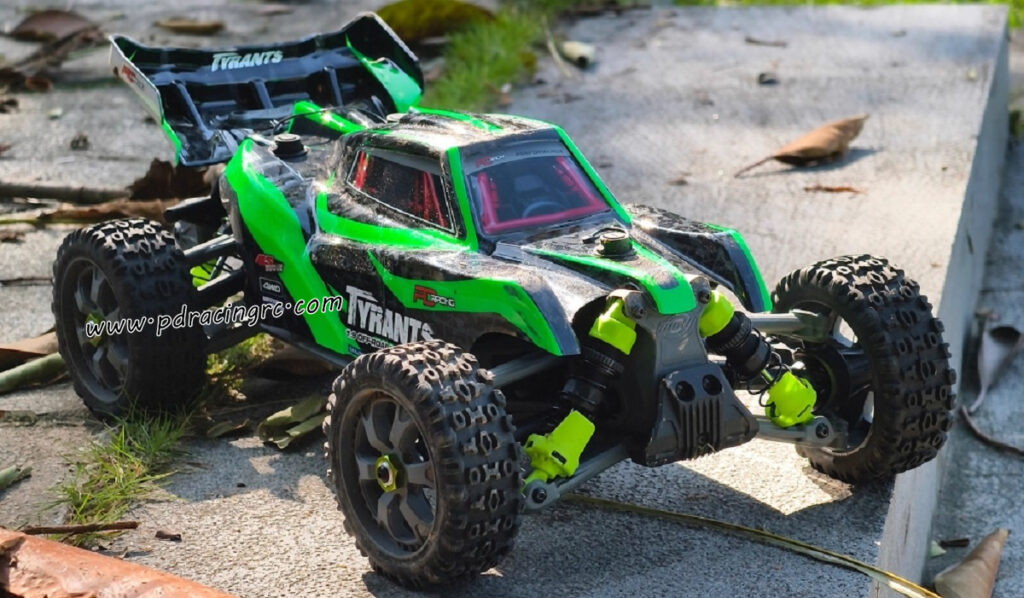
This is the most obvious difference right out of the box. The width of the MJX Hyper Go 10210 has been pushed out to 275mm, and the wheelbase was tweaked to match. It completely ditches that slightly “tall and skinny” look of the 10208. The proportions are much better now, giving it a beefy, aggressive stance. But more importantly, that wider track drops the center of gravity (CG). High-speed runs and cornering are way more locked in now—meaning less traction rolling for newbies.
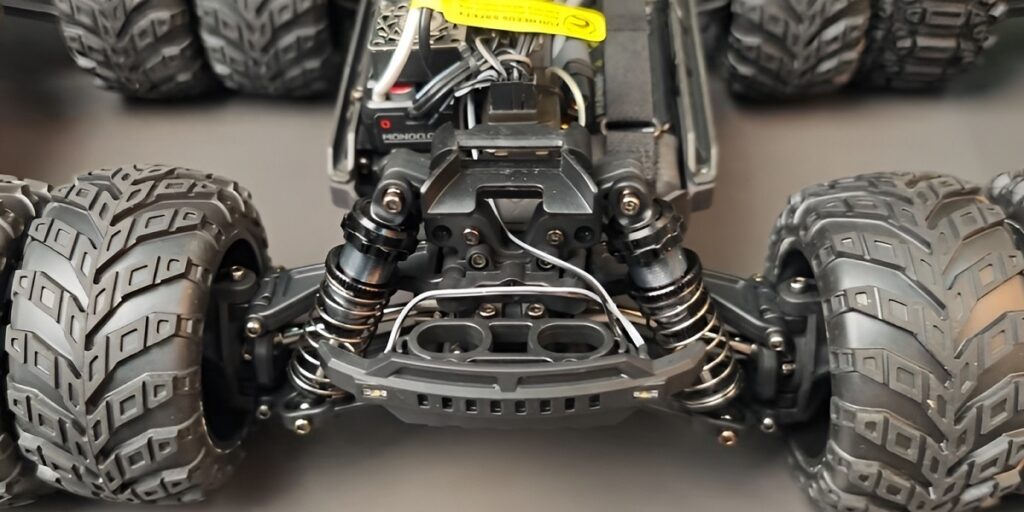
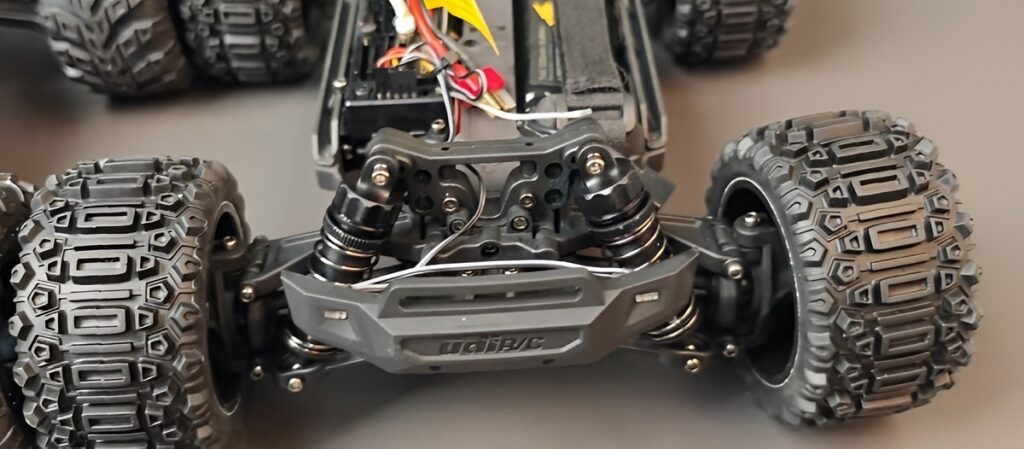
2. Beefed-Up Structure: Ultimate Bash-ability
The biggest gripe guys had with the old 10208 was the soft suspension arms (A-arms) that would bend or snap during hard bashing. MJX Hyper Go nailed the fix on the 10210: they embedded 7075 aluminum stiffeners right into the middle of the A-arms. You still get the impact-absorbing flex of plastic, but with way better overall rigidity. Surviving big jumps and nasty crashes is heavily improved.
On top of that, they slapped plastic diff covers on the outside to keep dirt out and prevent skipped gears. The center chassis brace is also thicker, giving the rig way less chassis flex. If you’re new to the hobby, you’re gonna crash—it’s just a fact. These durability upgrades are huge for keeping you out of the workshop and saving you money on replacement parts.
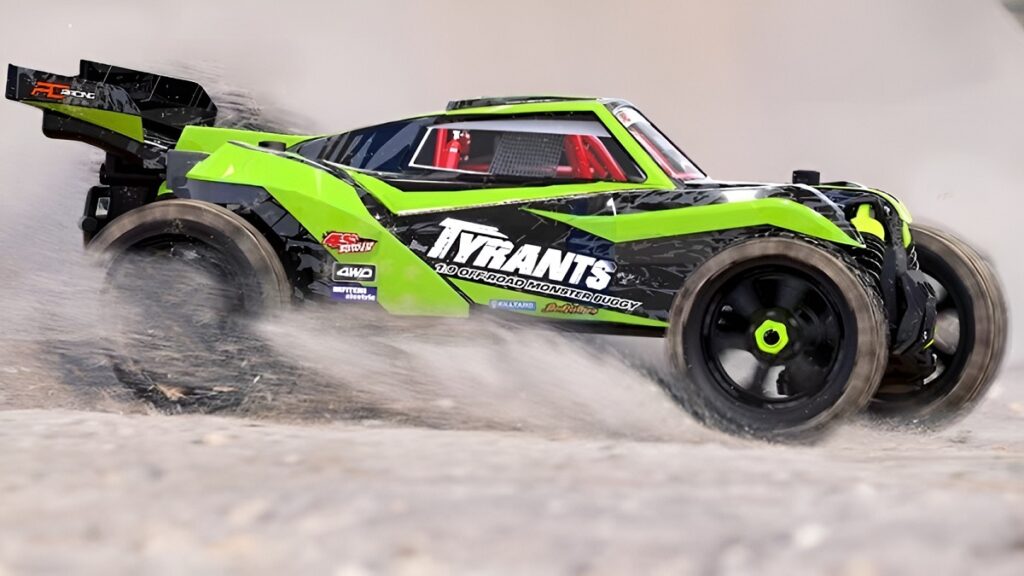
3. Power & Steering Tuning: Dialed in for Beginners
MJX Hyper Go 10210 bumps the pinion gear from a 13T up to a 15T, paired with a 120A ESC. The power delivery is super punchy now. Honestly, on a 3S LiPo, the top speed and torque are exactly what 99% of beginners need. You don’t have to cram a 4S battery in there just to have fun, which was a common complaint with the 10208.
The steering system got a rework too. It uses a positive Ackermann steering geometry, making the steering way more linear and precise—none of that twitchy, unpredictable steering the 10208 sometimes had. The triple-diff setup is also tuned to be super forgiving. Power delivery is balanced, so launches and accelerations are smooth, keeping you from looping out and losing control.
Part 2: Answering the Top Beginner FAQs
1. Is it fast enough? Do I need to run 4S?
It’s more than enough! I highly recommend not jumping straight to a 4S LiPo if you’re a rookie. The factory tuning on the MJX Hyper Go 10210 is completely optimized for 3S. On 3S, you can easily pop wheelies, hit the jumps, and do fast speed runs. It’ll keep you entertained for at least your first six months. Sure, 4S is insane, but it puts a massive strain on the drivetrain. If you don’t have throttle control yet, you’re gonna strip gears and snap axles, which just ruins a good bash session.
2. How tough is it? Will I break it on day one?
In this price bracket for beginner rigs, the durability of the MJX Hyper Go 10210 is top-tier. The reinforced A-arms, diff covers, and thicker center brace were all designed specifically to handle rookie bashing abuse. As long as you aren’t intentionally launching it full-throttle into a brick wall or sending it off a roof, it’ll hold up great to normal bashing. Just watch out for the hard plastic pieces on the front fascia—try to avoid direct, head-on impacts.
3. Is it hard to drive? How long does it take to learn?
It is incredibly easy to pick up. Thanks to the smooth steering, linear throttle, and planted stance, a total beginner can figure out the basics of straight-line pulls and cornering in about 10 to 20 minutes on flat ground. Pro tip: dial your throttle rate all the way down on the transmitter first. Get a feel for the handling, then slowly crank up the speed. It’s the absolute best way to avoid a nasty crash right out of the box.
Part 3: Who Should Buy It & Buying Advice
Who it’s for:
- Total rookies looking for their very first hobby-grade RC truck.
- Guys with a budget under $300 who want a 1/10 scale monster truck that can off-road and hit jumps.
- Guys who owned the 10208 and want an upgrade in durability and handling.
- Drivers who dig the retro truck styling and want a rig that looks killer.
Who should pass:
- Hardcore bashers looking for extreme, 50-foot skatepark sends and standing backflips.
- People on a super tight budget just looking for the absolute cheapest toy-grade RC.
The Verdict & Buying Advice:
If you have a choice, grab the Metallic Red colorway—it just looks premium and pops in the sun. Stick to a standard 3S 5000mAh LiPo to start; you can always buy a backup pack later. When you pull it out of the box, don’t just send it off a ramp immediately. Get a feel for it on flat dirt or pavement first, then work your way up to grass, off-roading, and small jumps.
All in all, the MJX Hyper Go 10210 is a seriously impressive upgrade. It perfectly fixes the main headaches of the old 10208 while keeping the price tag super friendly. If you’re a beginner looking to spend under $300, this is hands-down one of the best 1/10 scale monster trucks you can buy right now.