
HOW TO USE?
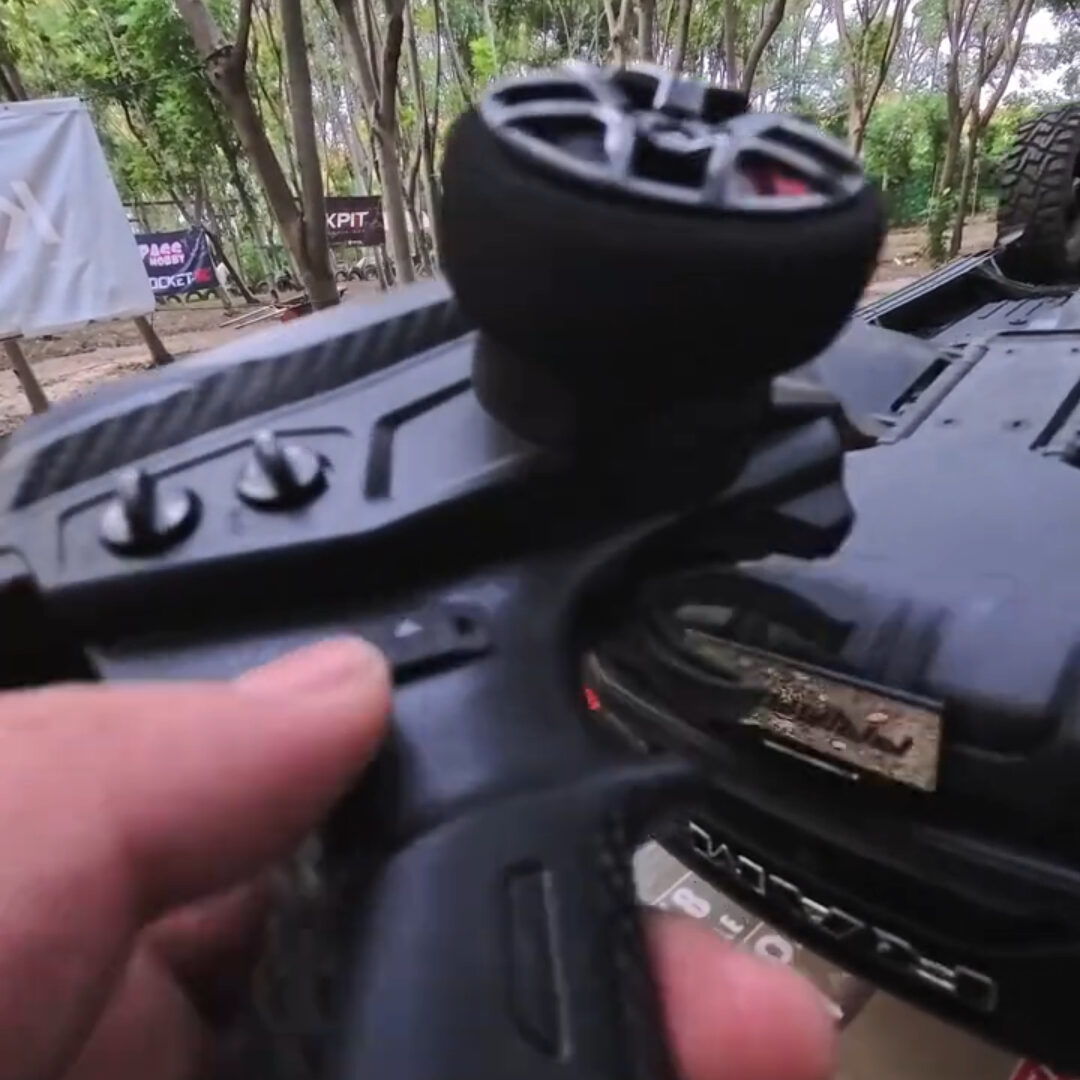
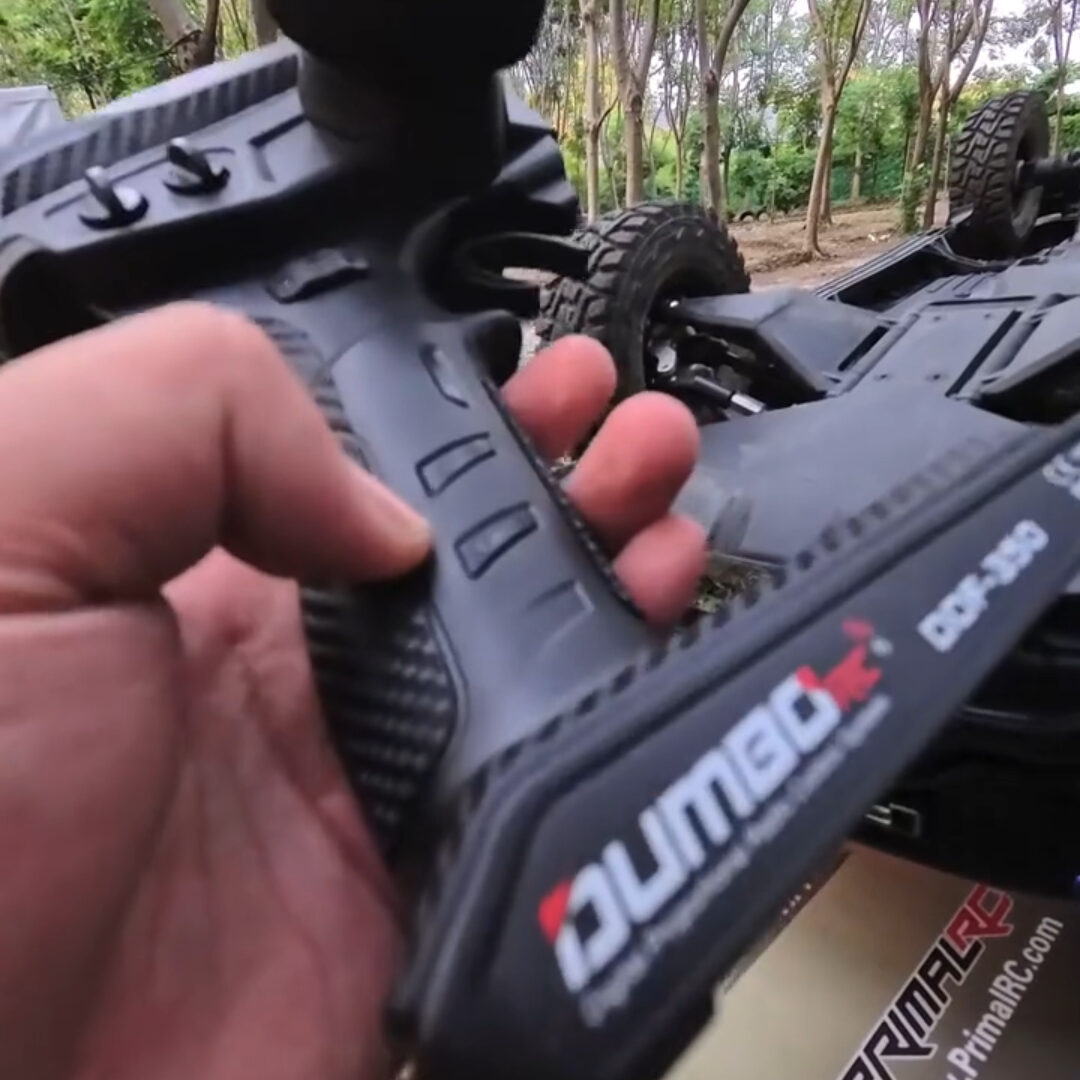
Hello everyone, the Tractionhobby RAM 1500 rc car is now on sale, and it looks absolutely stunning. I have a brushed version of the RAM 1500 here, which comes with a DUMBORC DDF-350 10-channel LCD Display Remote Controller. Let’s take a look together at how to use the remote controller for this car.
Ⅰ. Description of Core Channel (CH) Functions
| Channel (CH) | Corresponding Function | Specific Operation and Status |
|---|---|---|
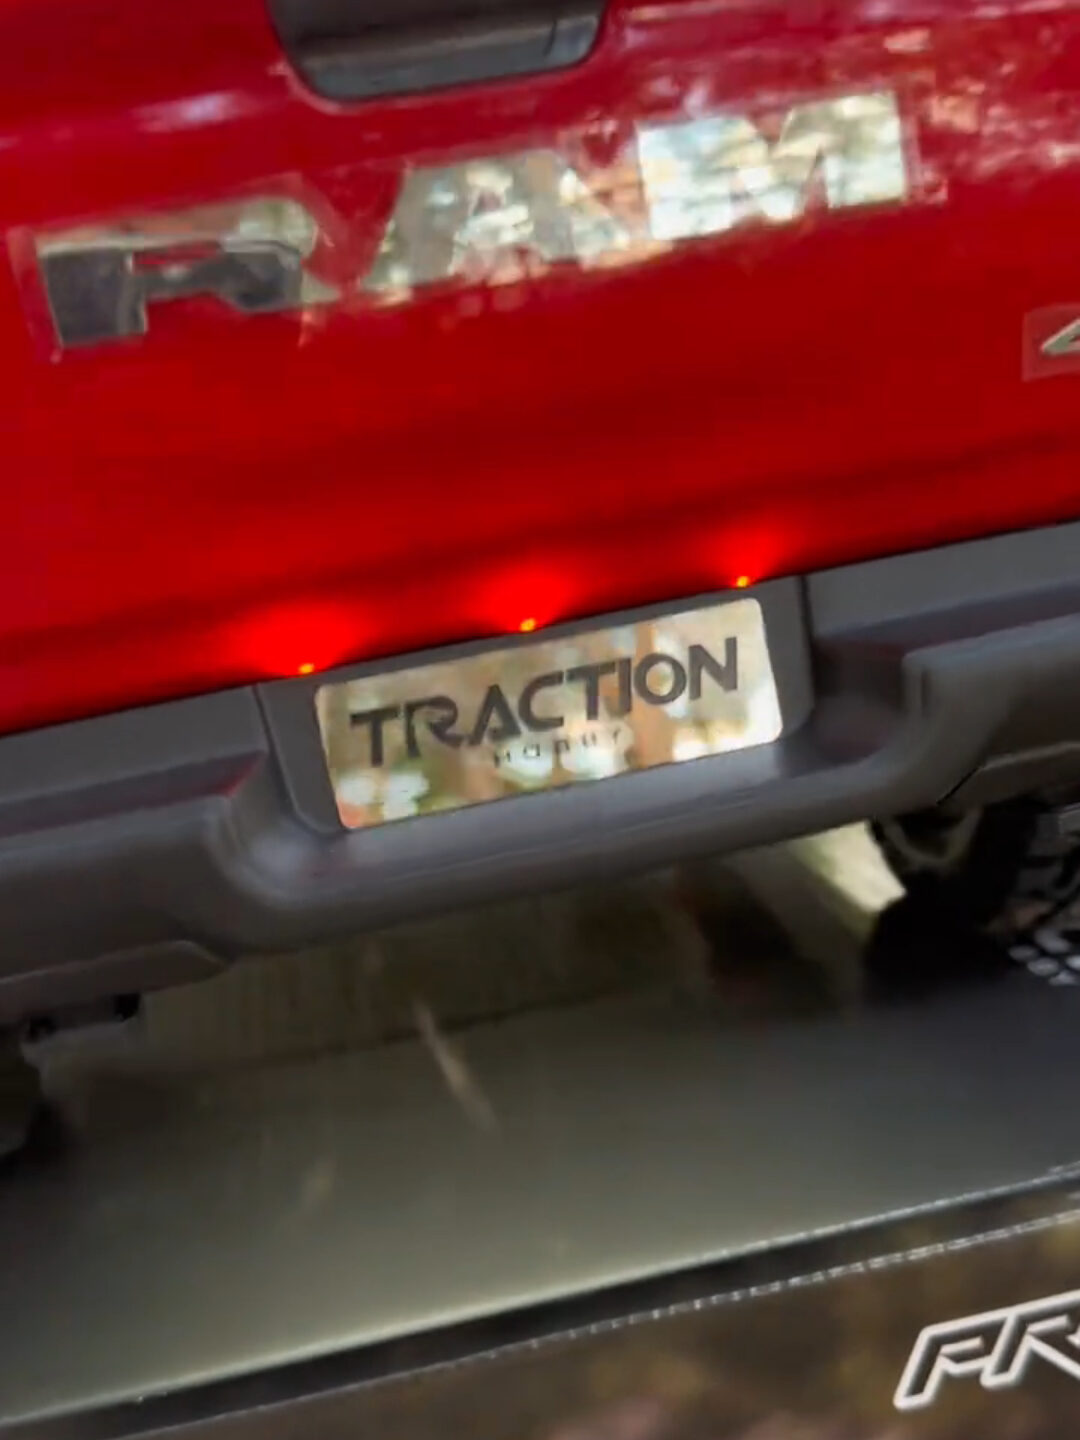
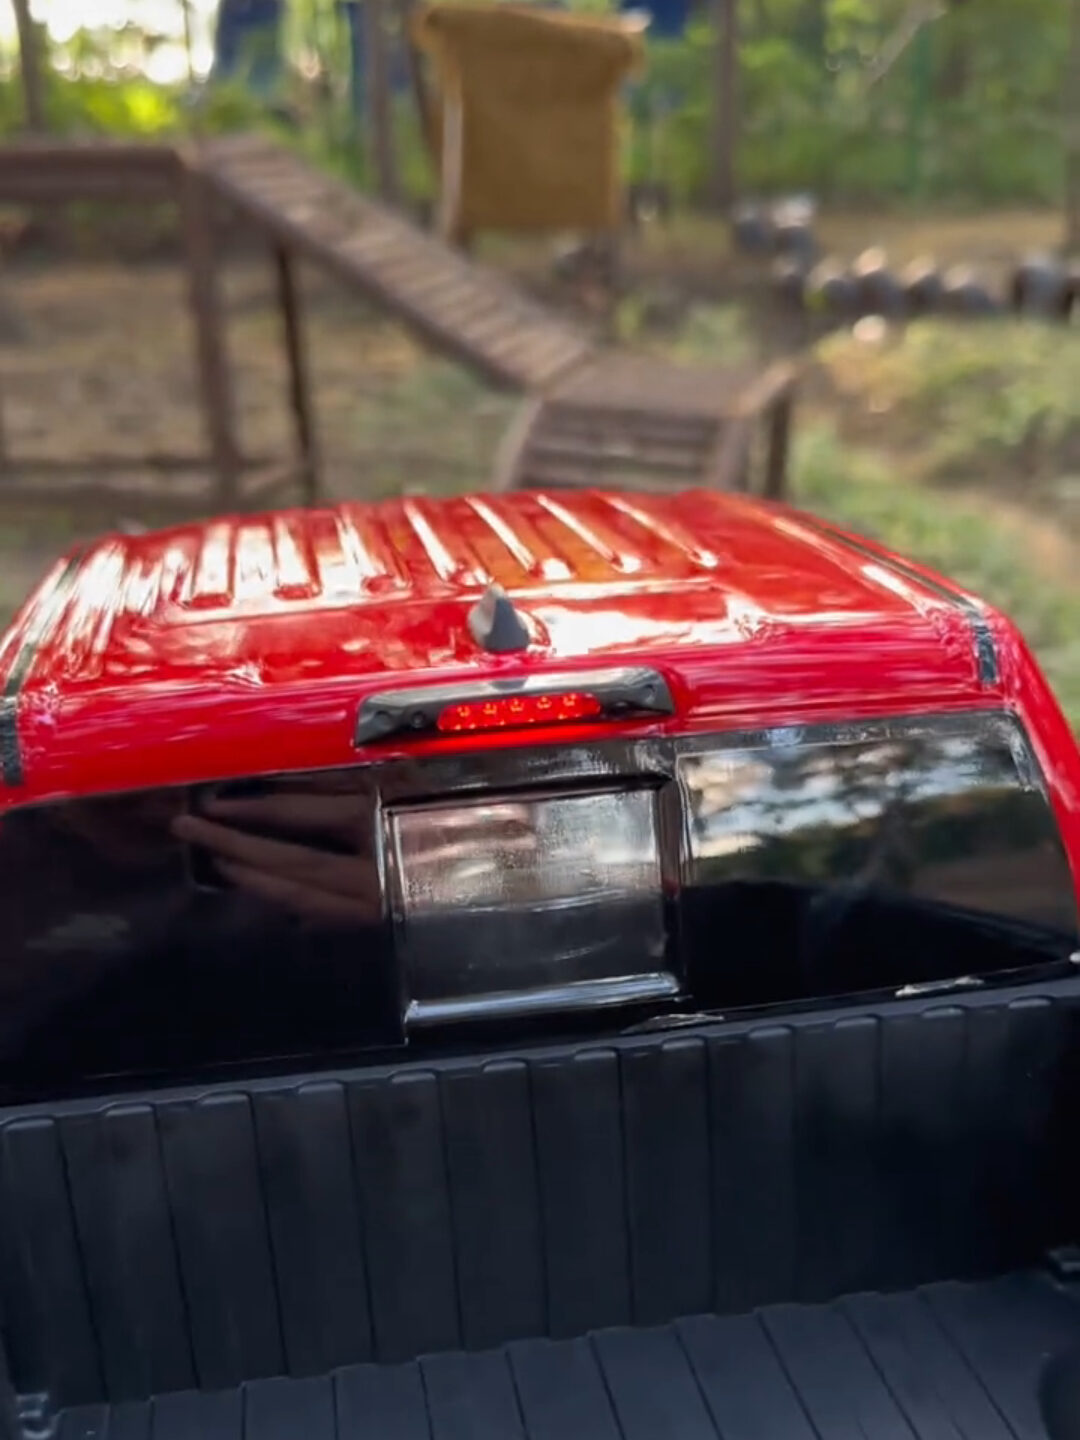
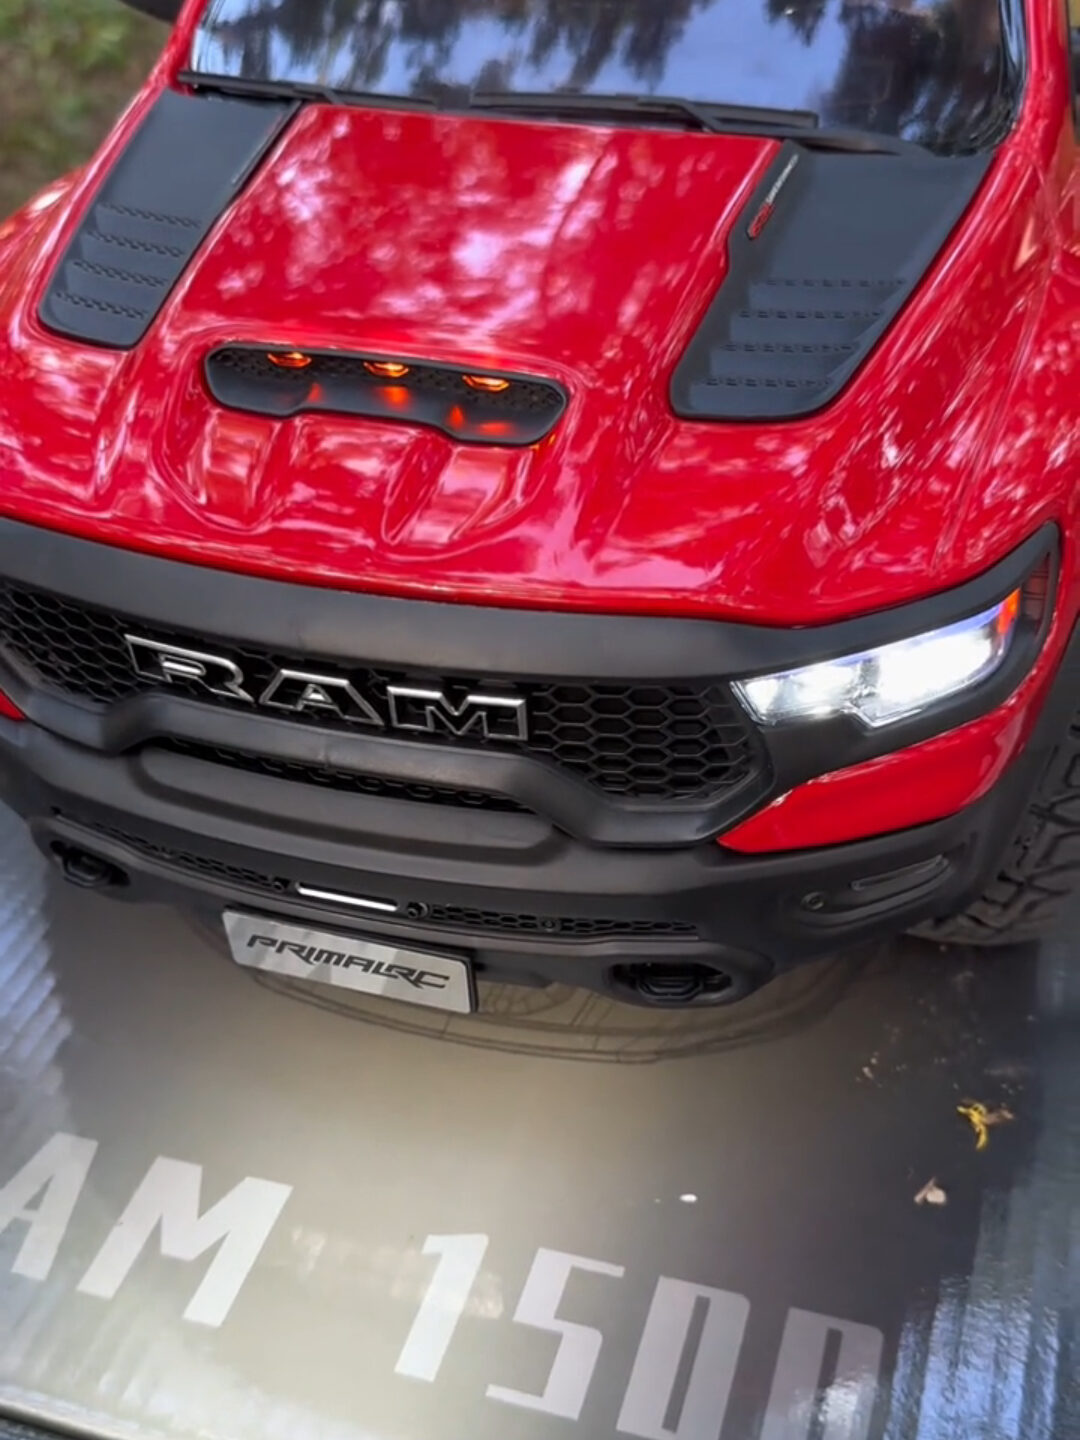
| CH3 | Light Group Control | – Control Scope: Hood light, low beam, high beam, daytime running light, front bumper light, rear light group (including high-mount light)- Operation Logic: Press the button to turn the lights on/off; the front bumper light needs to be pressed 3 times to turn on |
| CH4 | High/Low Speed Switching | – Initial Status: No light indicates high speed, light on indicates low speed (reverse adjustment is available via settings)- Adjustment Requirement: The factory default status may not fit usage habits, and reverse customization is allowed |
| CH7 | Drive Mode Switching | Switch among three drive modes: front-wheel drive, rear-wheel drive, and four-wheel drive |
| CH8 | Front Axle Differential Lock (Factory Setting) | In some versions, it is used to control the front axle differential lock; light on indicates locked, no light indicates unlocked |
| CH9/CH10 | Differential Lock Control (Common for Customization) | – General Logic: Light on indicates both front and rear axle differential locks are fully locked; no light indicates unlocked- Alternative: It can be customized to control the differential lock via CH3/CH4 according to personal preference |

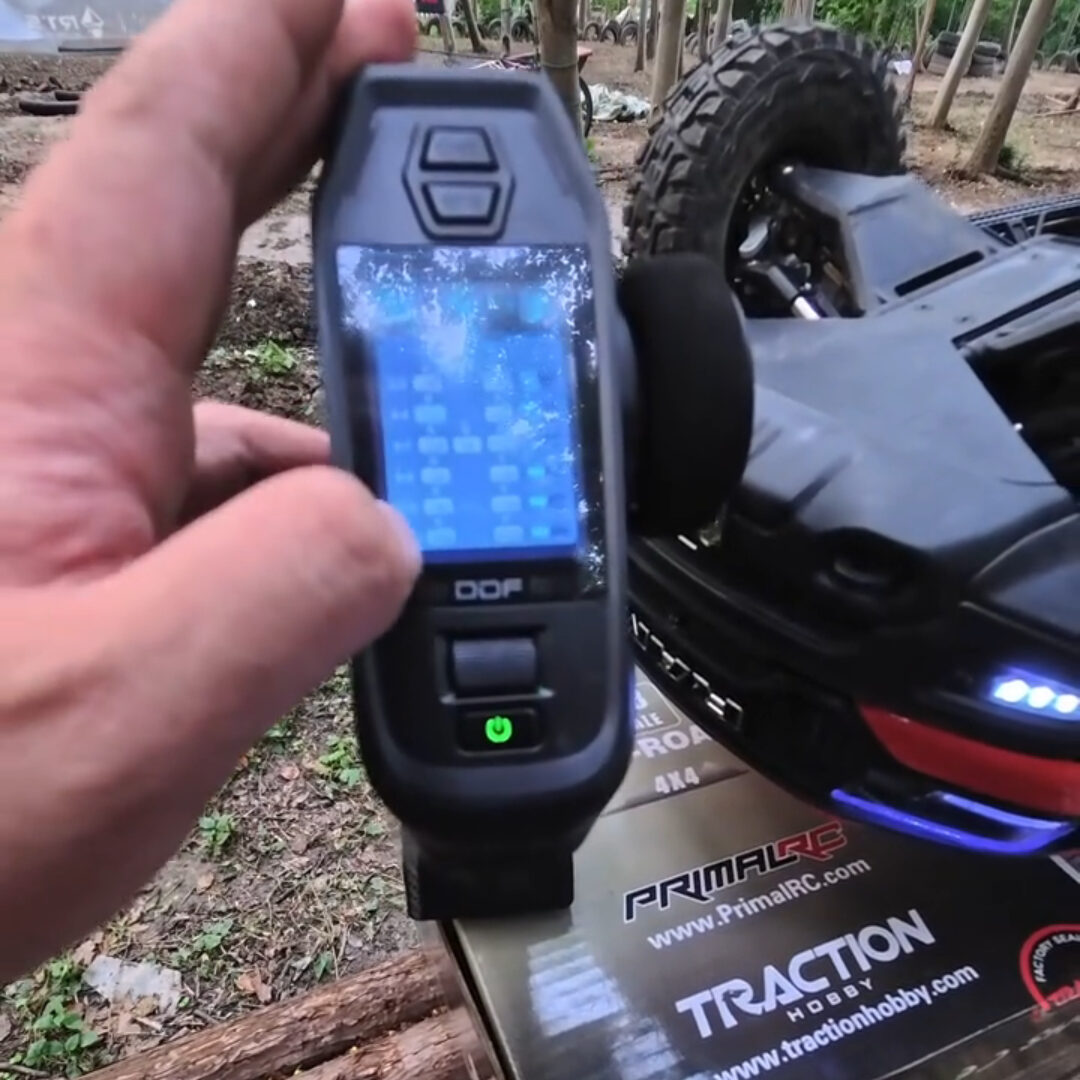
Ⅱ. Steps for Reverse Adjustment of CH4 High/Low Speed
- Enter the Setting Interface: Find the “Basic Settings” option on the remote control and select the “Channel Reverse” function.
- Adjust Parameters:
- Factory Default: The K4 parameter is -110 and +50 (corresponding to “no light = high speed, light on = low speed”)
- Reverse Setting: Change the parameters to “a = -50, +110”; after adjustment, “light on = high speed, no light = low speed” (flexible modification is allowed according to usage habits).
- Verify the Effect: Switch the remote control car to street mode for idling test, and confirm that after adjustment, “light on = high speed, no light = low speed” (or the target status) to ensure the switching logic meets expectations.
Ⅲ. Recommendations for Custom Channel Functions
- Principle of Flexible Adjustment: There is no fixed standard for channel functions, which can be modified according to the comfort of operation. For example:
- Assign the frequently used differential lock function to CH3/CH4 (replacing the factory default settings of light group and high/low speed)
- Adjust the high/low speed switching to CH8 (the original front axle differential lock channel)
- Applicable Version: The above settings are based on the “brushed version remote control car”; the brushless version has slightly different functions and is not applicable to this guide for the time being.
Ⅳ. Summary and Tips
- Review of Factory Default Configuration: CH3 (light group), CH4 (high/low speed), CH7 (drive mode), CH8 (front axle differential lock), CH10 (rear axle differential lock); the remote control car can be used with default functions immediately after unboxing.
- Personalized Recommendations: It is recommended to adjust channel functions according to personal operation habits. Focus on whether the CH4 high/low speed logic is comfortable to use, and the differential lock channel can be flexibly assigned.
- Applicable Scope: The brushed version remote control car can be set directly with reference to this guide; the brushless version needs to be adjusted in combination with the specific model instructions.